Showing posts with label Versa Mark. Show all posts

Friday, April 12, 2024

Thank You for Hawaii with Hibiscus Flower


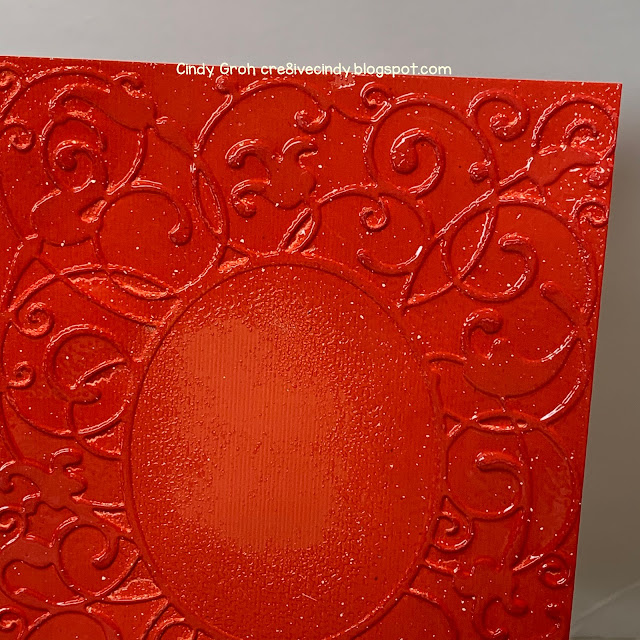
Hi. I stamped the hibiscus stamp by Deep Red Stamps with Versa Mark ink and heat embossed it with platinum embossing powder by Ranger. The red die cut is by Gina Marie. The thank you die cut is from my stash. 
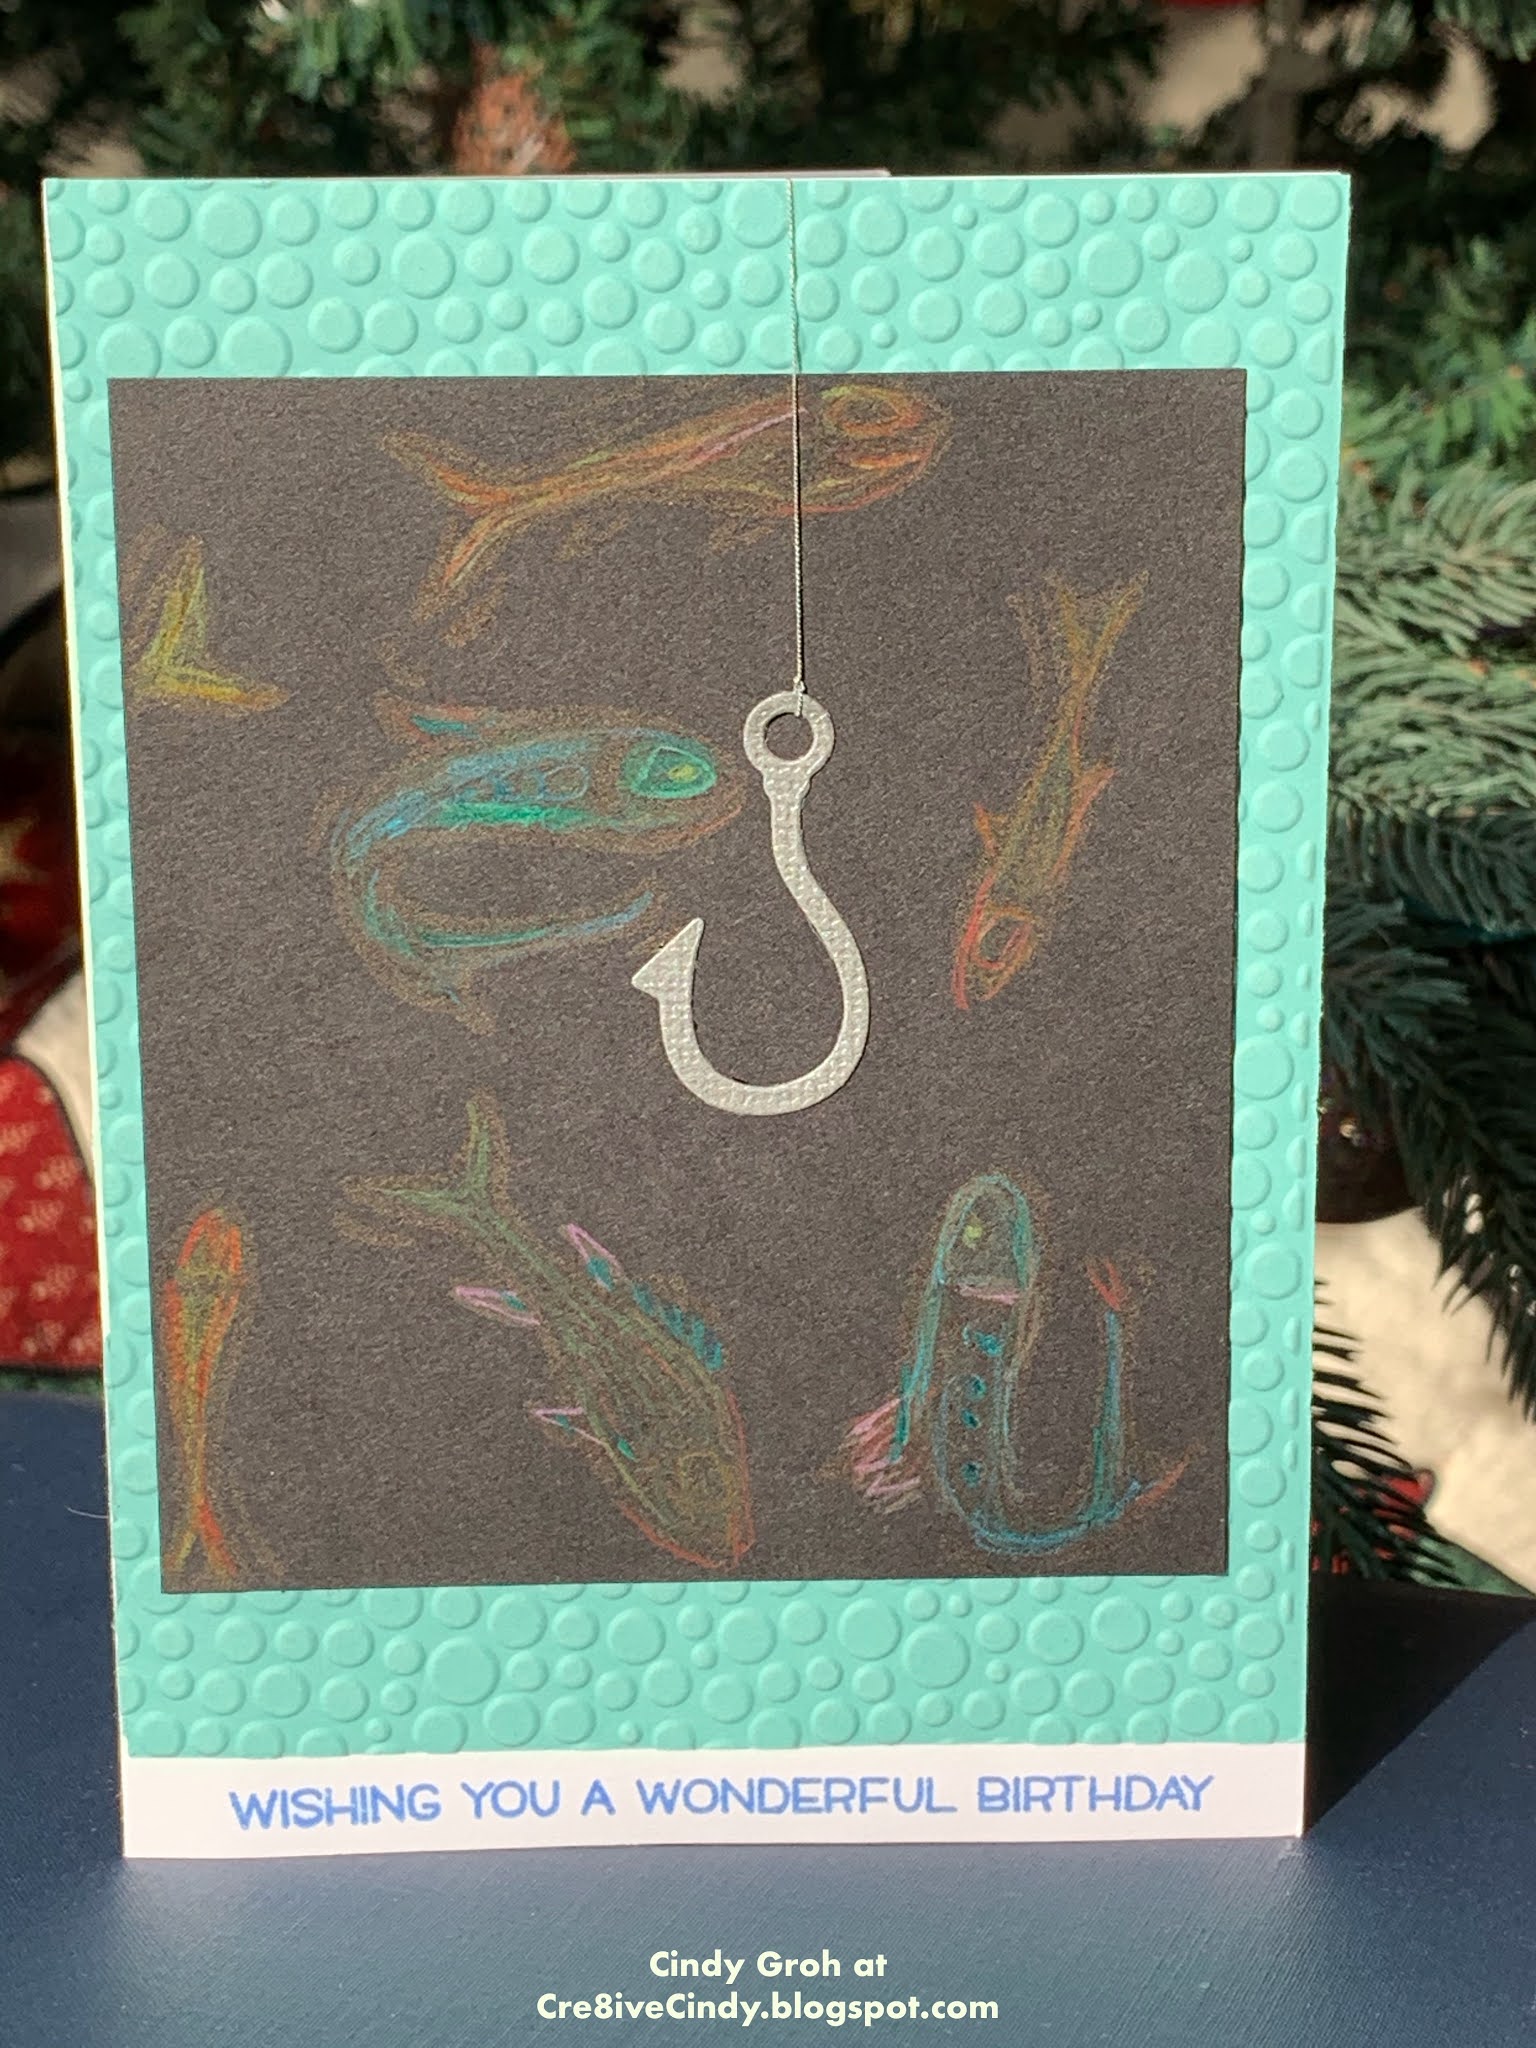
I made the background paper with blue distress inks and foam applicator using a wavy mask at different angles on white paper. I put a little ink here, then moved the mask and put a little bit of ink there. It creates white space and with the blue it looks like waves. I lamely tried to add in some brown distress ink at the bottom to resemble the sand. I hate it but not enough to redo it. 
Thank you for looking

Monday, August 14, 2023

Manly Monday Curtains are open for the Nutcracker


The card is for Craft Roulette challenge
Parameters: 
Split down the center-curtains made by me. 
Jolly colors-jolly red with blue and green Christmas colors.
 Fruit-nuts are a fruit (nutcracker Cricut draw and cut. Colored with Copic markers)
A Heart-on his hat-die cut by Scrapbooking Made Simple. Thanks for looking.

Monday, October 04, 2021

Manly Monday Deep Red Stamps Woodgrain

I made these cards using the Deep ReD stamps 
I heat embossed the weathered wall stamp. I had to stamp it twice to fit on the cardstock. I used my MISTI and I was successful. I used Peerless Watercolors to color in the cornucopia.
They are so messy because I kept falling asleep while painting these. I would wake up and the paintbrush would be in the wrong spot for that color or on the outside of the image. I used paper towels to get rid of the access but it didn't always save the image. Oh well. I think they still look nice...from a distance. lol


The red border and brown border sticker are by Creative Memories and Yellow unknown.


The border die is by Tim Holtz


This is the size of the weathered wall stamp and the size of the cardstock. You can tell that the MISTI really came through for me when it came to perfectly lining up the image. 


Thank you for looking.
Here are a few previous posts that go along with these two.

Monday, March 01, 2021

Manly Monday Fish on Black Paper Cards


I saw this technique on Splitcoast Stampers. When the card is in your hands the fish catch your eyes making you want to look at it more closely. 
I stamped the fish with Versa Mark ink and then dried the images with a heat gun. 
Then I colored the open area of the images in with some colored pencils by Stampin Up and Faber-Castell. The Faber-Castell pencils produce very vibrant colors that go well with this technique. I found that regular colored pencils didn’t show up on the black cardstock. 

 The fish stamps are by Close to my Heart

The hook die-cut is by Quickutz and the silver string is from my stash


The sentiment in the card below is a Lawn Fawn die cut.


For the next two cards, I think the bubble patterned paper is by Paper Pizzazz.
The sentiment stamps are both from Michael’s dollar bin


Best wishes sentiment stamp is hiding in my room. So I’m not sure on that one.


And the last card,
The sentiment is a Lawn Fawn Stamp.
The background paper is dry embossed with a Cuttlebug embossing folder.


Thanks for looking

Friday, February 26, 2021

Laugh as much as you Breath...Card

I'm into the technique where you stamp an image with Versa Mark ink and dust Perfect Pearls on it.l It looks great with the background stamps.
The background stamp is an oldie by Stampin Up. The grey patterned paper, that I love is by Close to my Heart and the strip down the side is by Recollections. The sentiment die cut is by Cloud 9  (Fiskars)

Thanks for looking.

UPDATED 9-30-21 THE ENTIRE POST HAD TO BE TRASHED AND START OVER IN ORDER FOR THE SAME FONT SIZE AND SPACING.

Laugh as much as you Breath Card

I'm into the Versa Mark ink.


I’m into the Versa Mark ink techniques lately. I have another one coming up on Manly Monday.

The background stamp is from Stampin Up 
Stamped with Versa Mark ink and dusted with Perfect Pearls.

The sentiment is by Cloud 9

The patterned paper is by Recollections and Close to my Heart 

The Background stamp...


Thanks for looking

Wednesday, June 03, 2020

Stethoscope Cards


More Medical cards
The die- cuts are by my Cricut and the hearts are unknown


This blue and grey card,
I used a stamp for the sentiment by Forever in Time
Embossed with white powder by Stampendous


Next card,
Washi Tape on the side by SU


Next card,
The patterned paper in the first card My Mind's Eye
Chevron embossing folder by Cuttlebug


Next card,
The patterned paper is by Bella Blvd 
Sentiment stamp by Hampton Arts
Washi tape at the bottom


Thanks for looking

Tuesday, June 02, 2020

Medical Heart Beat cards with fancy embossing

All die cuts are from my Cricut
All papers are cardstock from my stash
No stamps-that doesn't usually happen on my cards.


So this red background card went through multiple steps. It started with too much pressure from the Gemini on the embossing folder. That made the paper crack. Alrighty
I  pressed Versa Mark ink pad over the raised embossing and heat embossed it with clear embossing powder by Stampendous multiple times. I enhanced the photo so you can see it better. Then...


I embossed this gray scrap of paper with the same embossing folder.


Then lined the two together and added the heart


BOOM! I loved the results. Flaw and all.


The For You card:
The black cardstock was dry embossed with a Chevron pattern folder by Cuttlebug
The heart is on a Spellbinders die-cut
I put Glossy Accents on the heart die-cut.


Thanks for looking
UPDATED PICS, DESCRIPTION, lABELS, AND PHOTOS 10-1-21

Friday, May 08, 2020

Hello There Card with a tag

I started with a  tag by Basic Grey.
I inked up a background stamp by Hero Arts with Versa Mark ink.
I white heat embossed using Stampendous embossing powder
Then I inked the tag with Vintage Photo distress ink
I sprayed the tag with water mixed with gold Perfect Pearls
The ribbon is by American Crafts and it is secured with staples from the tiny attached by Ranger Industries.
The sentiment sticker is by K and Co
The patterned paper is by K and Co


Thanks for coming by and taking a look.
Updated7/21/21

Wednesday, December 11, 2019

Thinking of you burgundy, black and white


The background paper stamped with a Stampin Up set same color ink as cardstock
The dry embossing folder is unknown but I covered it with Versa Mark ink and poured white embossing powder over the dry embossed background and used a heat gun on it.
The sentiment is by Cricut and brads by Close to my Heart.


Thanks for looking.

Sunday, October 06, 2019

Deep Red Stamps Selfie Card


I stamped this chica and colored her in with Copic markers. She's a Deep Red Stamp
City Summer Girls
I added some Stickles in different places of her.


The Circles background stamp was stamped with Versa Mark ink and heat embossed with white embossing powder. Then I inked the entire background with distress inks.
The sentiment is by Me and My Big Ideas

Thanks for looking.

Friday, August 23, 2019

Purple Stencil Just a note Card

Stencil by Hampton Arts with Versa Mark ink and given color with pink iridescent FX Powder by Dreamweaver Stencil/ Stampendous.
Flower stamp and purple ink by Stampin Up. Sentiment by Hero Arts out of grey SU ink. The border punch is unknown but the patterned paper is by Provo Craft.


Thanks for looking

Thursday, May 16, 2019

Secretaries Day Just for You Card

I made this tag in 2014  and if you look at this post you can see I removed the Miss You sentiment. I don't send many Miss You type cards but I liked the tag. So I offed the sentiment label and used the tag for a Secretaries Day card. It worked well because the tag has dimension and the card is square. Perfect qualities for a hand delivered card rather than one that goes through the mail.

My new sentiment is by Lawn Fawn and is on dahlia die cut by Spellbinders. The purple background cardstock is by Coordinations and was dry embossed. Then I ran an emery board over the embossing to reveal the white like core of the paper.


Thanks for looking.


Sunday, February 17, 2019

Orange and Yellow Thank You card

Start with a piece of Ranger watercolor paper and stamp a Hero Arts background stamp with Versa Mark ink to heat emboss it with white embossing powder. Slide mini distress ink pads over the top of the embossed background. Spray with water, dab with a paper towel and let dry. Die cut two yellow squares, two smaller orange squares and the medallion out of black cardstock using the Cricut and cartridge Art Philosophy. Die cut the sentiment die by Clearly Besotted and adhere all dies together as shown.Once background is dry adhere die cuts to the panel and the panel to a pre-made white card base 5 ½ x 4 by Recollections. 

Thanks for looking


Friday, February 15, 2019

Valentine's Day Card

One more Valentine's Day card. This one was published in Just Cards magazine. I'm sad that they went out of business. Sentiment stamp by Hero Arts. Heat embossed silver by Stampendous. Versa Mark ink. Heart paper by Bazzill. Other patterned paper by Little Yellow Bicycle.


Thanks for looking.

Saturday, January 26, 2019

Floral Background Watercolor Card

Start by heat embossing the background image with white embossing powder onto Ranger Industries watercolor paper. Then watercolor the image in with Peerless watercolors. Cut a label using the Cricut and ink the edges with lavender distress ink. Set a brad on each side of the label. Stamp the sentiment from SCD Designs with black Hero Arts ink. Adhere the sentiment to the lower part of the card base after the images dry.


Thanks for looking

Wednesday, January 23, 2019

Deep Red Stamps Doorway Card


Faith-Start with an off white 4x5.5 card base (Recollections) and cover with Momenta patterned paper. On Strathmore watercolor cardstock stamp Deep Red Stamps brick entry way with Versa Mark ink and heat emboss with copper embossing powder (Ranger). Color in the stamped image in with distress inks and a water pen all by Ranger. Once the stamped image is dry trim down to desired. Adhere together two scraps of light brown onto the left side and the image on top of the card base. Cut out a sentiment (Unknown) and adhere to the right upper corner of the image.


Thanks for looking

Link to Deep Red Stamps Garden Door stamp

Saturday, January 05, 2019

Deep Red Stamps Thinking of You

Start by making a 4 ¼  x 5 ½ blue card base and
cut a smaller piece of white cardstock to adhere
on top of the card base. Adhere a piece of diagonal
stripes of patterned paper (Jillibean Soup) on top of
white and a piece of aqua cardstock (Provo Craft
lengthwise and centered on the card front.
Stamp the Deep Red Stamp Tree of Life
(SKU 3x4056120) onto white cardstock with
Versa Mark ink and heat embossed image with
Green Juniper embossing powder by The
Powder Keg. Cut image and ink edge with Evergreen Bough and Black Soot Distress inks by Ranger Industries. Adhere image and sentiment stickers (Doodlebug) to the card front.
Thanks for looking.

Thursday, January 03, 2019

Deep Red Stamps Succulent Thank you

Start by making a card base from off white cardstock by Recollections size 5 ½ x 4 ¼ . Ink edges with distress ink. Stamp Deep Red Stamps Succulent Trio stamp with Versa Mark ink and heat embossed with platinum embossing powder by Ranger onto white cardstock. Watercolor images in with distress ink and water pens both by Ranger. Trim image, mat off white cardstock behind it and ink edges. Adhere to the card base along with two pieces of Crate patterned paper and sentiment by Deep Red Stamps. Can be found at
Scrapbook.com


Thanks for looking.

Wednesday, January 02, 2019

Snowball Season

Start with white pre-made card base 4 x 5 ½  by Recollections. On white cardstock by American Crafts dry emboss snowflakes pattern (Cuttlebug). Cut in a diagonl and adhere to card front. On small piece of white cardstock stamp the mittens with Versa Mark ink and heat emboss with black enbossing powder by Stampendous. Add the snowball rub-on to the upper right of the mittens before adhering to black cardstock. Then add the word season sticker by Making Memories to the bottom right.  Die cut a rectangle with rounded edges and adhere the image to the center of it. Adhere a Doodlebug Token (483 Winter) to each side of the die cut and set them with a black brad by Creative Imaginations.Adhere die cut group to the front of the card base.

Thanks for looking.