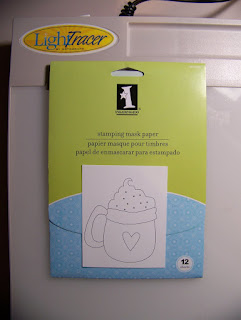
I made this tutorial on masking a digital image for I Did it Creations. Here are the pictures step by step as to how I did it and here is the link to the Picasa web album. The album gives an explanation of each photo and a few extra photos as well. If you share this tutorial please give the credit to me Cindy Groh. I worked very hard on this and would be hurt if someone took credit for that hard work. Thank you. If you make something using this tutorial leave me a link in the comments. I would love to see another view or take on it. Have a great day.


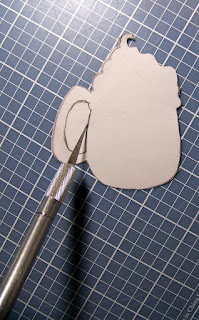


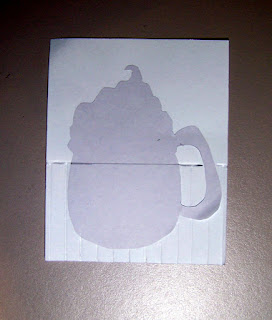


Here's the twist. I have a mask for the front of the image and the back of the image. The back mask allows me to score the lines into the cardstock up to the lines of the image. The scored lines are made on the back of the cardstock with the image on it and when flipped over looks like panelling on the front. I hope that makes sense.


Here is my finished card/project with this tutorial. I used patterned paper by Stampin' Up and K & Co, twine by Darice, brads by Oriental Trading Co, ink by Colorbox, label by American Crafts (i think) and letter stickers by K & Company. I hope this will inspire you to make a project with a mask on the front and back and see what creative project you can come up with. Post a link of your project in the comments so I can see it. That would totally make my day. Best wishes to all:)

1 comment:
WOW! i love this one! and whoever gets it is darn lucky :)
Post a Comment