My Christmas card has a few layers. The layer closest to the card base is a pearlescent red by Coordinations. The gray with red stripes is the backside of a journaling card by Teresa Collins. The red die cut with a silver marker outline was made with my Cricut and silver metallic pen. The white die cut is by Spellbinders. The “Joy” card is from a We R Members Keepers 6x6 paper pad. Thanks for looking.
Showing posts with label Coredination. Show all posts
Tuesday, April 09, 2024
Saturday, February 03, 2024
Wednesday, June 16, 2021
Calendar page Wednesday Daddy Layout
I have so many calendar scrapbook layouts that I haven't posted and would like to.
So Wednesday will be my day for the calendar layouts and will coincide with that month.
I will be posting calendar pages from 2019, 2020, and 2021 calendars. I make calendars for my brother, for our cottage, and for our home. You might even see calendars from earlier years.
I posted one last week and here's week 2:
June-The Paper Studio and Sunborn patterned paper. Cardstock by Coordinations, Recollections, and Oriental Trading Co. Cricut title.
Thanks for looking
Tuesday, April 13, 2021
Smaller Pink flower card
The flower stamp is by Stampin Up
I colored it in with Coppic markers and fussy cut it out to leave a white edge around the flower.
The corners are rub-ons by Colorbok
The diecuts are by Spellbinders with the polkadot patterned paper by Papertrey Ink
This is a smaller based card by Coredinations
Thanks for looking
Monday, May 11, 2020
Manly Monday Frog Joke Card
I used a frog stamp from Etsy and colored him in with Copic Markers
I found this joke online and printed it out in green to match the image
The die- cuts are by eBay and the black die cut behind is cut out using my Cricut.
The card base is smaller 3.5 x 5. I'm trying to get rid of these things that have been laying around.
Thursday, March 26, 2020
Gorgeous Cricut flower card
Isn't this card gorgeous?
This Cricut card had me flustered at first. I didn't like the color combo I chose. Then,
one part didn't like it was supposed to because the paper I used was too small.so I modified.
For days I had it on my desk until a friend came over and with her fresh set of eyes, she told me what looked best. Thank you to my friend it was finished and turned into a card.
It turned out pretty.
This Cricut card had me flustered at first. I didn't like the color combo I chose. Then,
one part didn't like it was supposed to because the paper I used was too small.so I modified.
For days I had it on my desk until a friend came over and with her fresh set of eyes, she told me what looked best. Thank you to my friend it was finished and turned into a card.
It turned out pretty.
Thanks for looking
Tuesday, June 25, 2019
Friday, May 17, 2019
Layering Happy Birthday card
This card has many layers to it so here we go. All of the square die cuts including the label are by Spellbinders. The sentiment stamp and its ink are by Hero Arts. The background cardstock is by Coredinations/Tim Holtz and the sheer ribbon was a scrap.
The flower, if you would call it that, is a Sizzix stamp and die combo. I stamped it with pigment ink by Colorbox, let it dry and die cut it out with the matching die. I put the flower on foam squares before adding it to the rectangle. I'm impressed with how nicely the die cut came out. Usually, my stamp/die combos take a bunch of tries to get them aligned.
The blue frame square was made previously, that's code for a really long time ago, and I kept it because there was a chunk of this background piece that was still a good size to use on a later project. Now why I kept the negative of this square die cut will never be known but to my advantage today the colors worked out well. The watercolor paper by Ranger was covered with powdered chalk mixed with water and an iridescent white paint all of which were by Stamp N Plus, a company I worked for but is no longer in business.
Thanks so much for stopping by and taking a look at this long post for just one little card.
Thursday, May 16, 2019
Secretaries Day Just for You Card
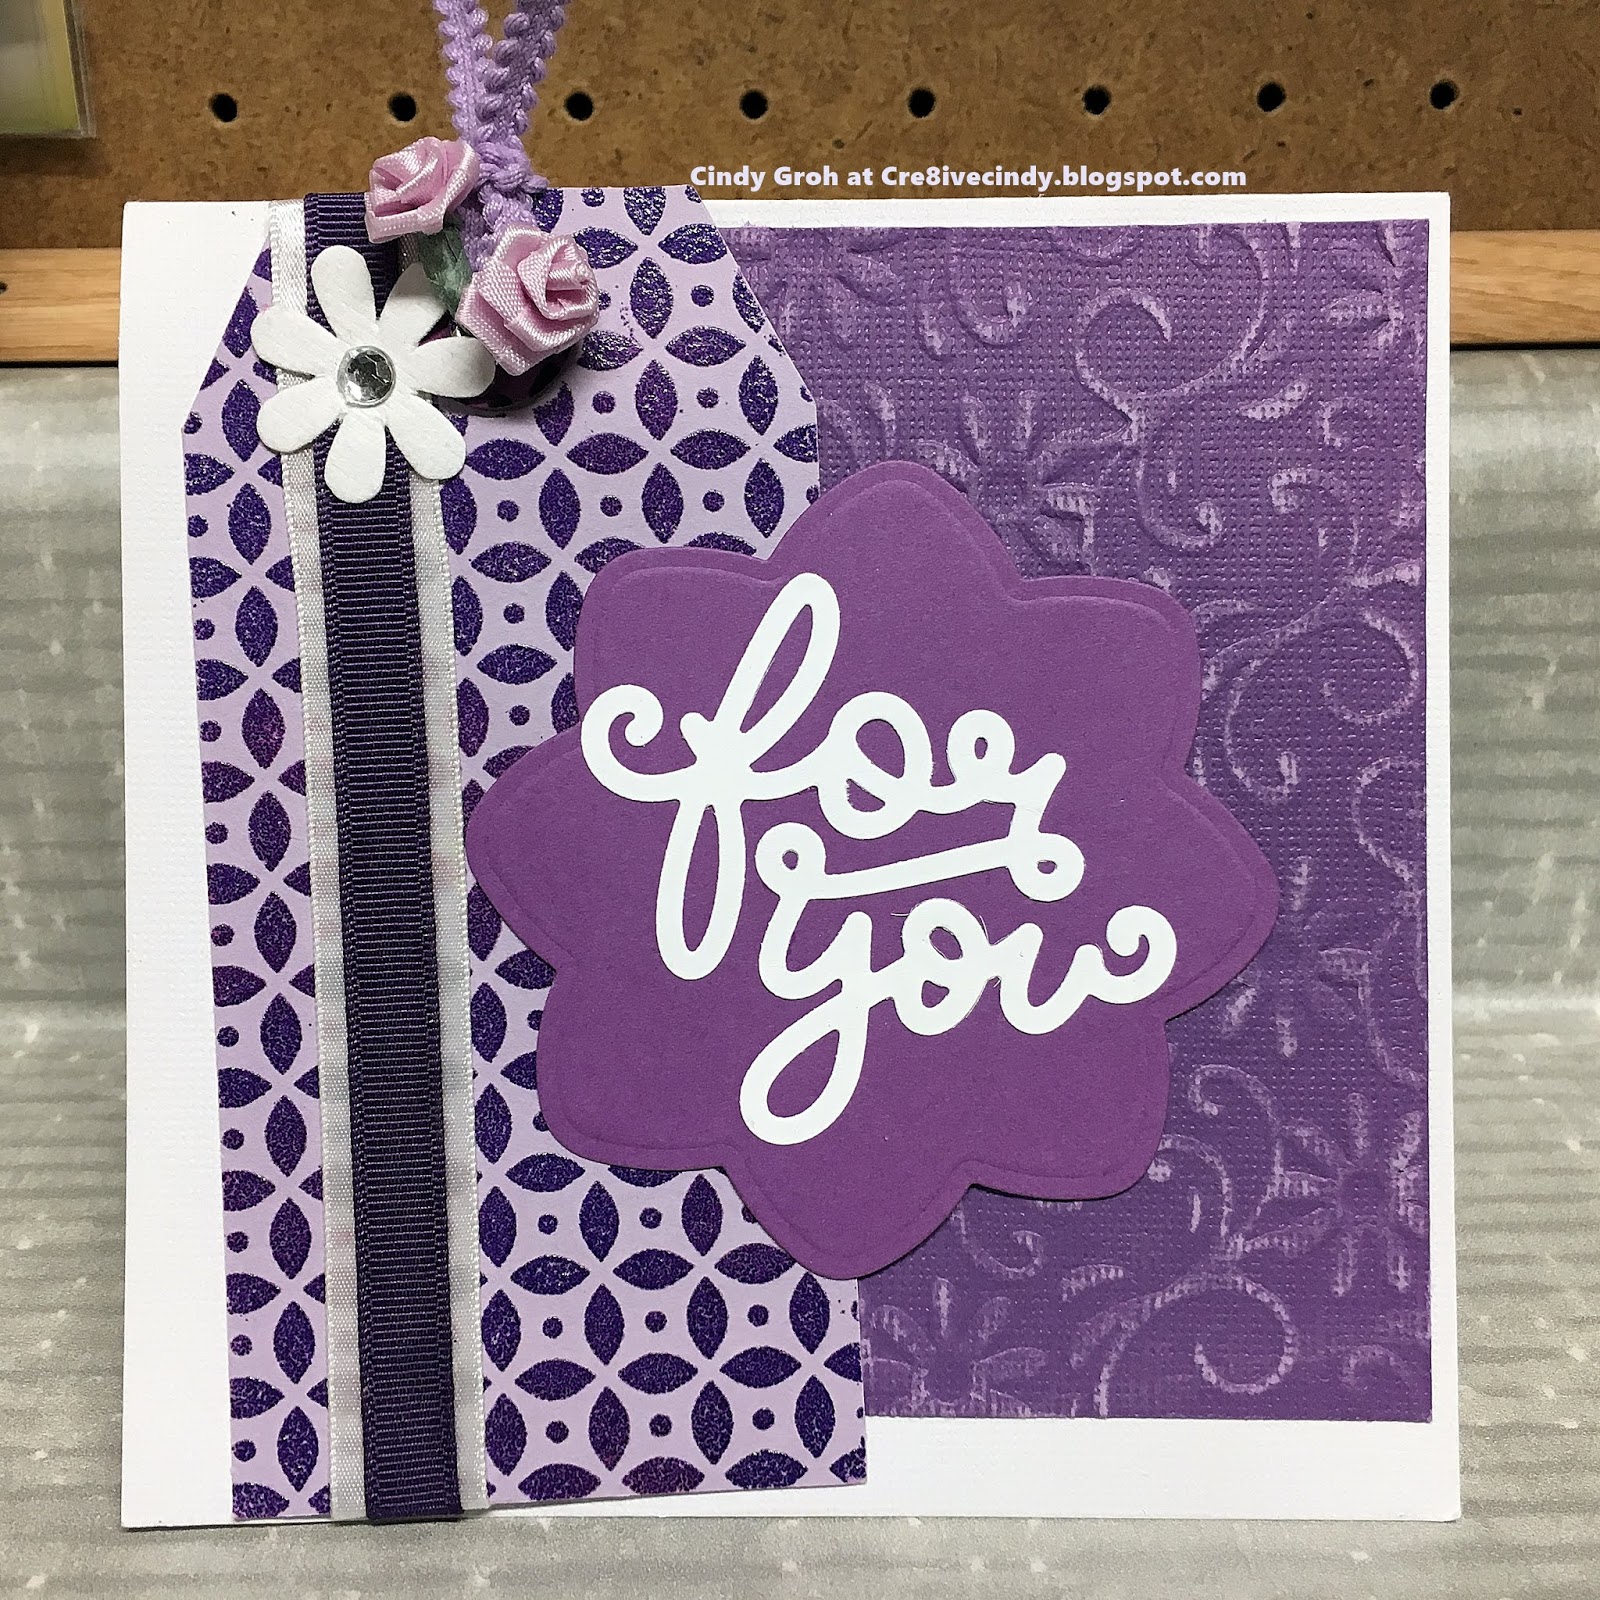
I made this tag in 2014 and if you look at this post you can see I removed the Miss You sentiment. I don't send many Miss You type cards but I liked the tag. So I offed the sentiment label and used the tag for a Secretaries Day card. It worked well because the tag has dimension and the card is square. Perfect qualities for a hand delivered card rather than one that goes through the mail.
My new sentiment is by Lawn Fawn and is on dahlia die cut by Spellbinders. The purple background cardstock is by Coordinations and was dry embossed. Then I ran an emery board over the embossing to reveal the white like core of the paper.
Thanks for looking.
Monday, February 25, 2019
Manly Monday Woodgrain Happy Birthday card
I used the wood grain paper by The Paper Studio and orange textured cardstock by Coredinations. I bought the sentiment die cut off of eBay and I hated the color so I grunge it up with distress ink. The brads are by Bo Bunny.
I’ve been trying to use my brads and eyelets lately. I have so many of them and they’re taking up space. Plus I have a bunch of nice ones that I should use. Do you have brads and eyelets? Do you use them?
Thanks for looking
Saturday, February 16, 2019
You and Me Card
Cute card for Valentine's Day.
Start with white pre-made card base 4 x 5 ½ by
Recollections and layer in the middle a 4x4 square of
pink cardstock (Stampin’ Up). Layer a
border to the left a strip of pink
cardstock (Core’dinations), red cardstock
and then red glitter cardstock both of
those by Recollections.
Recollections and layer in the middle a 4x4 square of
pink cardstock (Stampin’ Up). Layer a
border to the left a strip of pink
cardstock (Core’dinations), red cardstock
and then red glitter cardstock both of
those by Recollections.
Paint cereal board heart with last remaining
Fired Brick Crackle paint by Ranger. Sniff Sniff.
The sentiment is a Colorbok sticker
that I backed with white cardstock and then cut the ends.
Fired Brick Crackle paint by Ranger. Sniff Sniff.
The sentiment is a Colorbok sticker
that I backed with white cardstock and then cut the ends.
Thanks so much for looking.
Sunday, January 27, 2019
Kraft and Purple Christmas card
The snowman and snowflake were made by a woman who made these square pieces before no longer able to. They came with the rest of the stamps I received about 2 years ago.
Anyway. I stamped a Deep Red Stamp in the background, used a sentiment from a recycled card. The snowflake brads are by Eyelet Outlet.
Thanks for looking
Thursday, December 20, 2018
Christmas Penguin Present Card
I sent in cards to the Just Cards magazine to be published and was surprised when my package was "Return to sender". I searched online and their website is up but nothing is available to purchase. I read, accuracy is unknown, the company came in and informed it's employees that they no longer had a job because they were no longer going to be publishing magazines. Bummer.
Small tidbit on sending in cards-When I sent my cards in I would always include a return address envelope and postage so I could get my card back. If you don't do so, your card is not returned to you. I didn't know what they did with them and hated to think my cards would be thrown away. So regardless that it was a hassle and more expense to get the cards returned I still did it. My point? They sent me every card that had previously been sent in and not yet been published. They didn't have to do that. It was very nice of them to respect my wishes to have my cards returned to me.
Thank you Just Cards magazine and RIP.
My card descriptions were typed up to read as directions in a magazine. To save on time, I copied and pasted those instructions into my blog posts and have my fingers crossed that the formats will work well together.
Penguin Present
Start by making a green card base 4 ¼ x 5 ¼ with Recollections cardstock
Stamp a penguin by JustRite Stamps (Christmas Joy Set)
by coloring the layers with Smooch Inks (Colorbox).
Then color in the rest of the Penguin and die cut out using a Spellbinders oval die.
Die cut a rectangle with rounded ends out of green cardstock by Coredinations.
Cut a red cardstock background 2 ¾ x 3 ½ and wrap a piece of green with
red polka dots (May Arts) to the center and around to the back.
Trim down a piece of iridescent white paper (K and i) to 4 x 5 and wrap the same
ribbon down the center.
Adhere the penguin layers to the white paper and then to green card base.
Thanks for looking.
Monday, October 22, 2018
Tuesday, September 25, 2018
Saturday, May 06, 2017
Cheers Card
My card today uses a Mount Pleasant bottle cap that my husband flattened for me. I adhered the cap to a Spellbinders die out of Echo Park patterned paper. The cheers die is by Lawn Fawn.The yellow cardstock is by Sunborn and has been embossed with a Cuttlebug folder. There's gold rick rack on the sides of the yellow cardstock. The black textured paper is by Coredinations and the black and white cardstock by Recollections.
Thanks for looking.
Monday, March 27, 2017
Manly Monday Birthday Plane
Sorry for the delay. My Manly Monday card uses a Sizzix Plane stamp, stamped in black, and cut out with matching oval die. I cut out the shape in the center with the Cricut and the Art Philosophy cartridge. That cartridge has some great shapes that don't require a ton of layering. I cut black paper to go on top of blue Creative Memories patterned paper.
The next layer of paper is by Basic Grey and it is matted onto black cardstock (Recollections). The final layer is Coredinations frosted blue cardstock before adhering it to a white card base. The birthday stamp is by Stampin Up. I really took a chance on the sentiment. I had everything, and I do mean everything done with this card except the sentiment. I practiced many times before I got the courage to stamp it onto my card........and it turned out great or I should say, good enough for me. I hope you like it.
Thanks for stopping by.
Friday, March 03, 2017
Baby Brother Layout
Today I have layout for you and this one is from my nephew's book. The top patterned paper is by Stampin Up. The word paper is a scrap from a friend and he bottom paper is by Coredinations. It had a really cool frosted look on the front but the back of the paper matched what I was doing better.
The tag is a Cricut cut with the cartridge Don Juan and the tabs are size 1.5 by Art Philosophy. The cardstock for those cuts is by Recollections. On the tag I stamped a Hero Arts background stamp with Versa Mark ink and heat embossed it with white MyStamp Box embossing powder. I inked the tag with distress ink before setting a blue eyelet in the hole. After it dried I adhered felt numbers on it. The baby bingo is a Lindsay's Stamp Stuff digital stamp. The word brother is a Doodlebug thingy. The baby bottle sticker is by Frances Meyer.
Thanks for stopping by.
Friday, December 30, 2016
70th Birthday Card
My card today was made for my Mom's birthday. The patterned paper is by K and Co and the brown cardstock is by Cordinations. I die cut the brown cardstock with a Spellbinders border die and then inked it with distress ink. The ribbon in the middle is by The Paper Studio. The scalloped circles are Spellbinder's dies and I stamped the 70 (SU) and the TH (Lawn Fawn) with brown SU ink. The birthday sticker is by American Crafts.
Thanks for looking.
Tuesday, December 20, 2016
Christmas Candles Cards
This post might be an overload but I thought it was too repetitious to do in single posts. All of the cards use a candle stamp that I heat embossed with some different embossing powders. The stamp itself is not square shape which threw me off so I hand cut the image out on each one.
The first one I used a gold matte embossing powder and colored the candles in with distress markers. It would have worked better had I used watercolor paper. Lesson learned-maybe. The holly paper is by Anna Griffin and the red is unknown. The sentiment is also unknown but the ampere is a Quickutz die out of gold paper.
This next one is embossed with a glitter gold by Stampendous. It's not my favorite because I can't seem to get the whole image with a consistent glitter to powder ratio. I think it's me because another card maker loves the glitter embossing powders. The background and green paper is by Making Memories and the die cut is by Sizzix/Tim Holtz.
I tried the glitter embossing again and still don't care for it. The sentiment stamp is from the same unknown stamp set from above. The red cardstock is sprayed with Glimmer Mist by Tattered Angels.
Then I went way out there and tried a different color combo. Silver embossing (Hero Arts) with Faber-Castell colored pencils to color in the candles. Background paper and ribbon by Stampin Up. I'm not sure about the strip of paper in the center but the oval behind the image (which I cut in half to show it on the top and the bottom and is not centered) is cardstock by Coredinations. The oval was a negative of a Cricut cut.
That's all for now. Thanks for looking.
Subscribe to:
Posts (Atom)