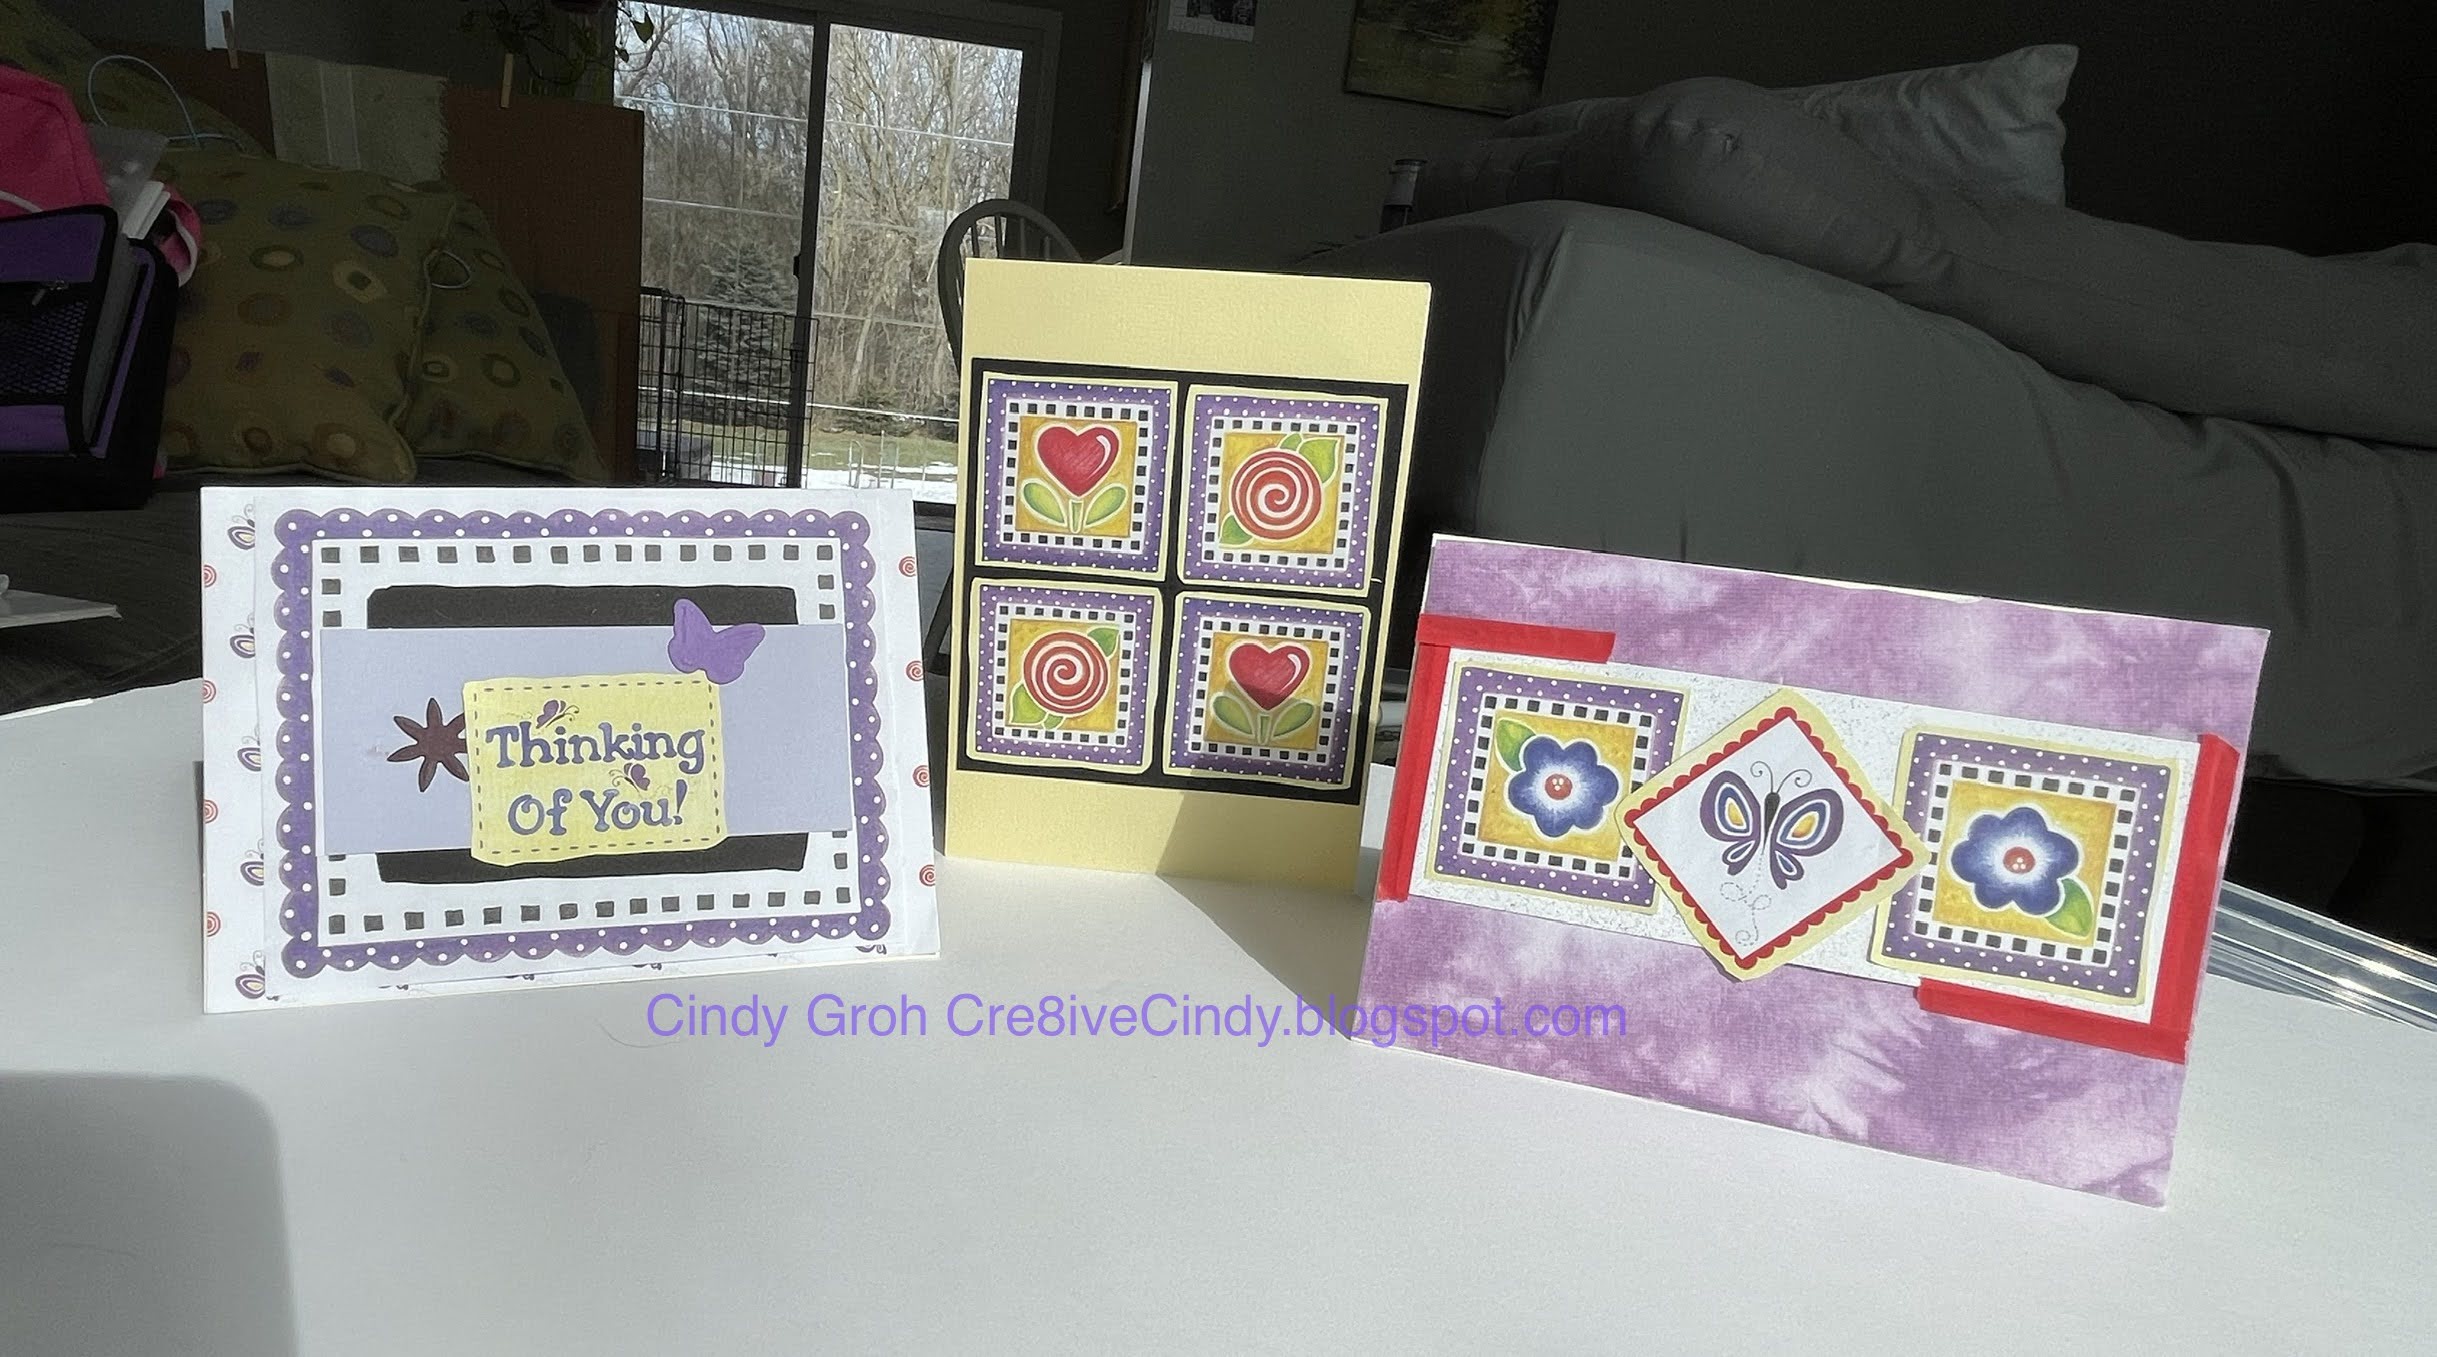
Showing posts with label Stampibilities. Show all posts

Monday, January 20, 2025

Manly Monday Hamburger birthday card

The cheeseburger is a die cut from a friend. The patterned paper is by Studio G. The red opulent paper is by Sizzix. The large circle was cut out with my Cricut. The Happy stamp is from Lawn Fawn. The word Birthday is a stamp from Stampibilities. 

Thanks for looking. HAGD! 

Saturday, June 08, 2024

Special Day Card in Green and Blue


The striped patterned paper is by Cosmo Cricket. The patterned paper that the sentiment is on is by Recollections. The circular background stamp is by Deep Red Stamps. The green die cut is by Scrapbooking Made Simple. The heart die cut is by Papertrey Ink. The sentiment is by Stampibilities.

Thanks for looking. HAGD 

Wednesday, March 01, 2023

March Calendar Layout Rock Stars


Patterned papers by Recollections and Die Cuts with a View. Title and guitar stamps by Stampibilities. Cricut cuts for the card shapes. Thanks for looking.

Sunday, August 21, 2022

Just for you card

I really like the way this came together. The vine stamp was colored in a while ago with colored pencils and Copics. It then went into the drawer.

I fussy cut the one side and it really stands out with the black cardstock underneath it. The patterned paper is from My Mind’s Eye and the sentiment is by Stampibilities. Thanks for looking. 

Saturday, June 18, 2022

Any Occasion Cards Purple and Red donation cards


I think this is the end of the cards that I made to donate to a friend in California. The patterned paper is from Accord Publishing the cardstock is by Recollections. The butterfly and flower are die cuts from Crafter’s Companion.

This last one uses bees I cut out of a patterned paper from the Accord Publishing The patterned papers on the outsides are by Basic Grey. The sentiment stamp by Stampabilities. It is stamped on a K and Co. label
Thanks for looking. 

Lately, I haven't been thrilled with my blog. It feels like a mess. There aren't enough hours in the day to fix 3971 blog posts. I was hoping that the background change would get the fonts the same size. Nope!  It didn't work.  So, there are two options
1.) Continue pondering over it and wasting time re-doing every post since 2009.
2.)Stop worrying about it. Each day 15 people come to my blog.
I blog so my projects are all in one place. I like to look back at the cards and layouts I did in 2011. In fact, I started with didn't make cards at first. It was mostly scrapbooking and I have a lot of scrapbooking things to post. Off of my computer onto my blog.  I will finish up with one of my quotes...

It doesn't have to be perfect, It just has to be done- Cindy Groh 

Sunday, May 09, 2021

3 die cuts on 2 Blue and Green cards

These card fronts have been in my “finish up” tote for awhile. Time to use them and get them mailed out.


The brads are from my stash. Feels nice to use products from my stash.
The sentiment is a stamp by Stampibilities.

The die-cuts are by Spellbinders.

The patterned paper is by Making Memories with distress ink around the edges


The second card, the borders are from Sunborn
All the other papers are scraps from my stash.
I don’t like the way that the glue makes the paper warp
I’m not sure what else to do with this card.
It will come to me. I’ll find something while I’m looking for something else.


I’m going to go a little bit off the camera to share with you some honest self evaluation.
I see some patterns in my workflow that could use improvement
When I “have” to do something and I’m bored with it, I find lots of other things to instead. I have examples followed by my excuse which I have listed as a defense.

1.Stamp names and dates on scraps of cardstock that I will use to label people in scrapbooks.
Defense-I will use those more than any of the other things that I’m going to list
1AFight with my Cricut and watch YouTube videos that don’t help.

2. Add designs of paper that are filed in the cabinet by design into the folders that are kept in totes which are divided by color.
Defense-I do not usually look at a picture and say, “This needs a polka dot pattern.” What I do is go over to my totes of paper and grab the folder with the color I’m looking for. There may be a polka dot paper in that folder and that’s the way I would find it. I’m not going to the polka dot paper folder.
That was confusing.  

3. Separate and organize colored paper in totes. 
Defense-There are so many shades of blue that I put like shades together in a folder to make it easier for me.

4.
 I take stamped images out of the drawer and find paper that matches. Then I put the paper and image into a baggy before moving it into the tote of cards to finish.
 Defense-this does make it easier for me when I quickly need to put a card together.

5. Organize the baggies so the same size bags are in the same folder using label maker and all.
Defense-another time saver.

7. Clean my craft room. This is a bad one. As I’m cleaning, I will come across many treasures. Some lost treasures.
Such as, finally finding that one paper I needed for this one  layout. 
Looking at everything around me I get bummed out and feel overwhelmed. 
Good and Bad News:
PS. I found the layout and it didn’t work, of course it didn’t. I even tried it on another popcorn layout and it didn’t work.

8. I will look online for inspiration, which I never seem to find on social media so I look at my old blog posts. I do find inspiration but I also find that a lot of my earlier blog posts don’t have labels, the links aren’t valid anymore, and the picture is small and sometimes with no watermark. So, fix the problems and it takes me forever because I’d number 9.
8A. So then, I’ve been wanting to do this... I want to grab all of my old Manly Monday posts and put my card on top of the post so it’s the first one you see. It’s never going to happen with my iPad unless I get a new oneI’m crazy! There are so many.a

9. Fight with iCloud to transfer my photos to my computer so the stupid thing stops telling me I have used 49 of my 50G and will need to upgrade to the next storage level. Why would I do that when I can’t find my 49G pictures and organize them the way I want too! That really makes me mad and usually ends with the worst one,
10. Go get something to eat 

That’s all I have to say about that.

Thanks for looking

Sunday, March 14, 2021

Happy Birthday Sweetie Pi Card


My cousin's daughter's birthday is today. 

The die-cut is from my Cricut. I had to do some slicing in order to replace the word PIE with the symbol Pi.

The sentiment is by Stampibilities

The patterned paper is by Cosmo Cricket

The envelope is from Neenah


These are the envelopes. I think you can tape them and it will stand up.


Heads up-I do have a bunch of St. Patrick’s day cards for Wednesday.

Thanks for looking

Wednesday, June 24, 2020

Yellow flower with Brown Thinking of You Card

I like the way this one turned out.
I used stamps from 2 different Stampin Up sets with the flower and leaves
I die-cut them out with their matching dies.
The sentiment is by Inkadinkado with black ink by Hero Arts.
The die- cut is by Spellbinders 
The embossing folder is by Cuttlebug. I inked the edges with distress ink 
The patterned paper is by Sunborn


Thanks for looking

Thursday, May 21, 2020

Just a Note Cards with Labels and Eyelets

I'm still chugging out more TY and TOY cards for everyone. 
I've also sent out a few birthday cards for kids that weren't able to have their birthday party because of the stay at home order.

So for these cards:
I used stamps by Hero Arts and Stampibilities for the sentiments
The musical note die-cuts are by Cricut.
The patterned paper is by Prima
The first card uses die-cuts by Design Objectives.
Look at all those eyelets, Oh Yea!
I used Spellbinders labels, called grommet tags, for the second card
The center die-cut was embossed and then inked in the center.
I did that more when I had my Cuttlebug
I'm still learning on my Gemini which plates to use with what.


Thanks for looking

Wednesday, May 20, 2020

Just a Note Dry Embossed Rainbow Sheets of Music Cards

These cards are made with leftover backgrounds from a group of ATC's I made back in Feb 2017. I knew I would use them someday. lol

The sentiment sticker is by SRM Stickers and I put it across the top and bottom
The dry embossing is a Fiskars plate. They're really old. 
I used them with my Cuttlebug but have feared to try them with my Gemini. 
The Gemini company didn't have a warranty card in the box.

So, I'm not as willing to try new combinations on this machine quite yet. 
^^This is the old me and I mean old like a week ago.

Because as of today, May 7th, I'm getting ambitious and brave enough to give it a try. 
But which plates would I use run them in my Gemini is the question. Hmm

Continuing on with the cards, I inked the embossed area with distress ink. I'm not one to do rainbow colors but these turned out so cute that I may try it again.
Then I trimmed down the Strathmore watercolor paper and sprayed it with water
I kept dabbing off the extra ink with a paper towel so the embossed pattern would show through.
I added pink and black behind it to make it fit the card base. 


The next card uses the same dry embossed plate but on plain white cardstock.
I went over the embossed areas very gently with an ink blending tool and the same colors of ink as above.
The sentiment is a stamp from Stampibilities on Bazzill purple cardstock. 
It doesn't photograph well but looks nice face to face. 
I used pink eyelets inside the Spellbinders label die.


Thanks for looking

Thursday, April 02, 2020

Purple Hi card with scalloped squares and circles

I used stamps by Hero Arts
The sentiment is by stickers by Stampibilities
The die- cuts are by Spellbinders and circle punch by CM
The paper is by Bazzill and Recollections
Tag is unknown


Thanks for looking

Friday, March 06, 2020

Forever in our Hearts Bright sympathy cards

I made a few not your normal sympathy cards. The colors are kind of bright. I'm not sure if that's good or bad but any card you send someone will be appreciated.

I used stamps for the sentiment by Stampibilities
The heart dies I bought off of eBay.
They were cut out of DCWV glittery paper.
The red paper behind it is by Craft Smith.
I sprayed it with Perfect pearls gold
Border punch by Fiskars
The patterned paper is by Elle's Studio


The second card is on kraft cardstock
The ribbon is old and I can't remember who it's by. Maybe Prima? Shout out if you know.
The die-cut by Spellbinders
The Forever sticker is by ha, Forever in Time.
I added a few red heart rhinestones.


Thanks for looking
UPDATED 9-30-21 PICS, SPACING, AND MINOR DESCRIPTIONS.

Friday, December 06, 2019

Corner Die Cuts form a frame around peach butterfly card

The butterfly stamp is by Stampin Up and I colored it in with Copic Markers.
The Sizzix corner die-cuts form a beautiful frame for this butterfly tag
 The background paper is by Cosmo Cricket
The sentiment stamp is by Stampibilities.
Eyelet and ribbon from my stash


Here are some other examples using this butterfly stamp.
This is my last one of this butterfly that is already stamped and colored in.
I need to use some different stamps in my stash.


Monday, November 04, 2019

Manly Monday Blue Birthday cards

I've been slacking on my manly cards.
1st card
The dry embossing folder is by The Paper studio
I used distress ink by Ranger to highlight the pattern
The die-cuts are by Cricut
The rick rack is from my stash


2nd card
 The sentiment is by Stampibilities and happy die-cut by Clearly Besotted
Ribbon from y stash.
Patterned paper by Making Memories


Thanks for looking

Monday, September 16, 2019

Manly Monday Coffee Feather Special Day

The feather looks like a tie.
The masculine patterned paper.
Definitely a Manly Monday card.
Coffee cup by Forever in Time
Die-cuts by Spellbinders
Wallpaper samples and the backside of the background patterned paper, which is by Paper Reflections.
The sentiment stamp is by Stampibilities


Thanks for looking

Friday, June 28, 2019

A Note for You Both Card

I came upstairs with the first card and my husband didn’t like the “e” before the word "Just". So I cut it off for the final draft of this card. 


He thought the new one was okay but wasn’t that impressed by it. I added the word stamps by Stampabilities and then a 2 in the heart (Close to my Heart). The heart punches are by Creative Memories and the border punch by Martha Stewart.


Thanks for looking 

Sunday, June 23, 2019

Red Star card to end Graduation card week

Red Star card: Red star is chipboard painted with red paint by Plaid. The star on top is a die by Quickutz. Yellow Bazzill cardstock punched into squares over a white piece of cardstock. You did it stamp is by Hero Arts and diploma by sticker by Stampabilities.

Thanks for taking a look at my graduation cards.

Saturday, May 11, 2019

Mixed Media Background Happy birthday card

I was playing one day and made some backgrounds and then used what I had already cut out or stamped up.


This pre-made background cards base by K and Co and was sprayed with Glimmer Mist by Tattered Angels. The flower is glued onto some fun foam. Those two stamps and matching dies are from the Stampin Up set Secret Garden. Sentiment by Cricut.

Some supplies used: SU set Secret Garden and small leaves by Flower patch. Dark pink is foam and light pink flower die by Crafter's Companion. Sentiment by Cricut.


Border from Cricut. Purple label die cut by Sizzix and sentiment stamp by Stampibilities.

Things I used: The Crafters Work Shop stencil with distress ink. Dies from Stampin Up stamp set Flower Patch. The stem has been stamped first and then cut out with coordinating dies. The pink is foam. Sentiment by Spellbinders.

Thanks for looking.

Monday, May 06, 2019

Manly Monday Sail Boats

I made these cards using sailboat images from store-bought cards.
The sentiment stamp in the first is by Stampibilities.

The sentiment stamp in the second one is by The Paper Co.


Thanks for looking
A few other sailboat cards I found:
Sailboat Stencil
Iris Folding Card

Monday, January 28, 2019

Manly Monday Worldly Best Wishes

The World stamp is by Stampendous. I heat embossed it with copper embossing powder. I adhered it to brown paper and then onto the white. I set a brad in the center of the sentiment. Brads by Bo Bunny and the sentiment  by Stampibilities. Patterned paper by Creative Memories.


Thanks for looking