Showing posts with label mixed media. Show all posts

Monday, January 29, 2024

Manly Monday Wild about You

I made this card for Craft Roulette #199 
Project: card with a bookmark 
Color: Bakery 
Elements: Large animal
Random: add horizontal lines 


I cut the tiger out using my Cricut. The patterned paper is by Cosmo Cricket. Sentiment by Close to my Heart. The background behind the tiger is mixed media. I was playing with my Distress Oxide inks. Thanks for looking.

Saturday, April 03, 2021

Cricut Egg Die-Cut Cards and frame


There are some cards that you make and when you look at them later with new eyes, all you can do is wrinkle your nose and shake your head. That’s me with these first 2 cards. 

I didn’t send this card out because you can’t really tell that the yellow part in the middle is an egg. Which is something I explain in the last project.

The die-cuts are from my Cricut 

The patterned paper is by Doodlebug. 


The second card uses a stamp with 
3 eggs on it by Studio G
I masked the eggs with Inkadinkado masking paper and colored them in with Copic Markers and colored pencils 

The sentiment is a die-cut by Cricut on the Holiday Cakes cartridge


Last thing,
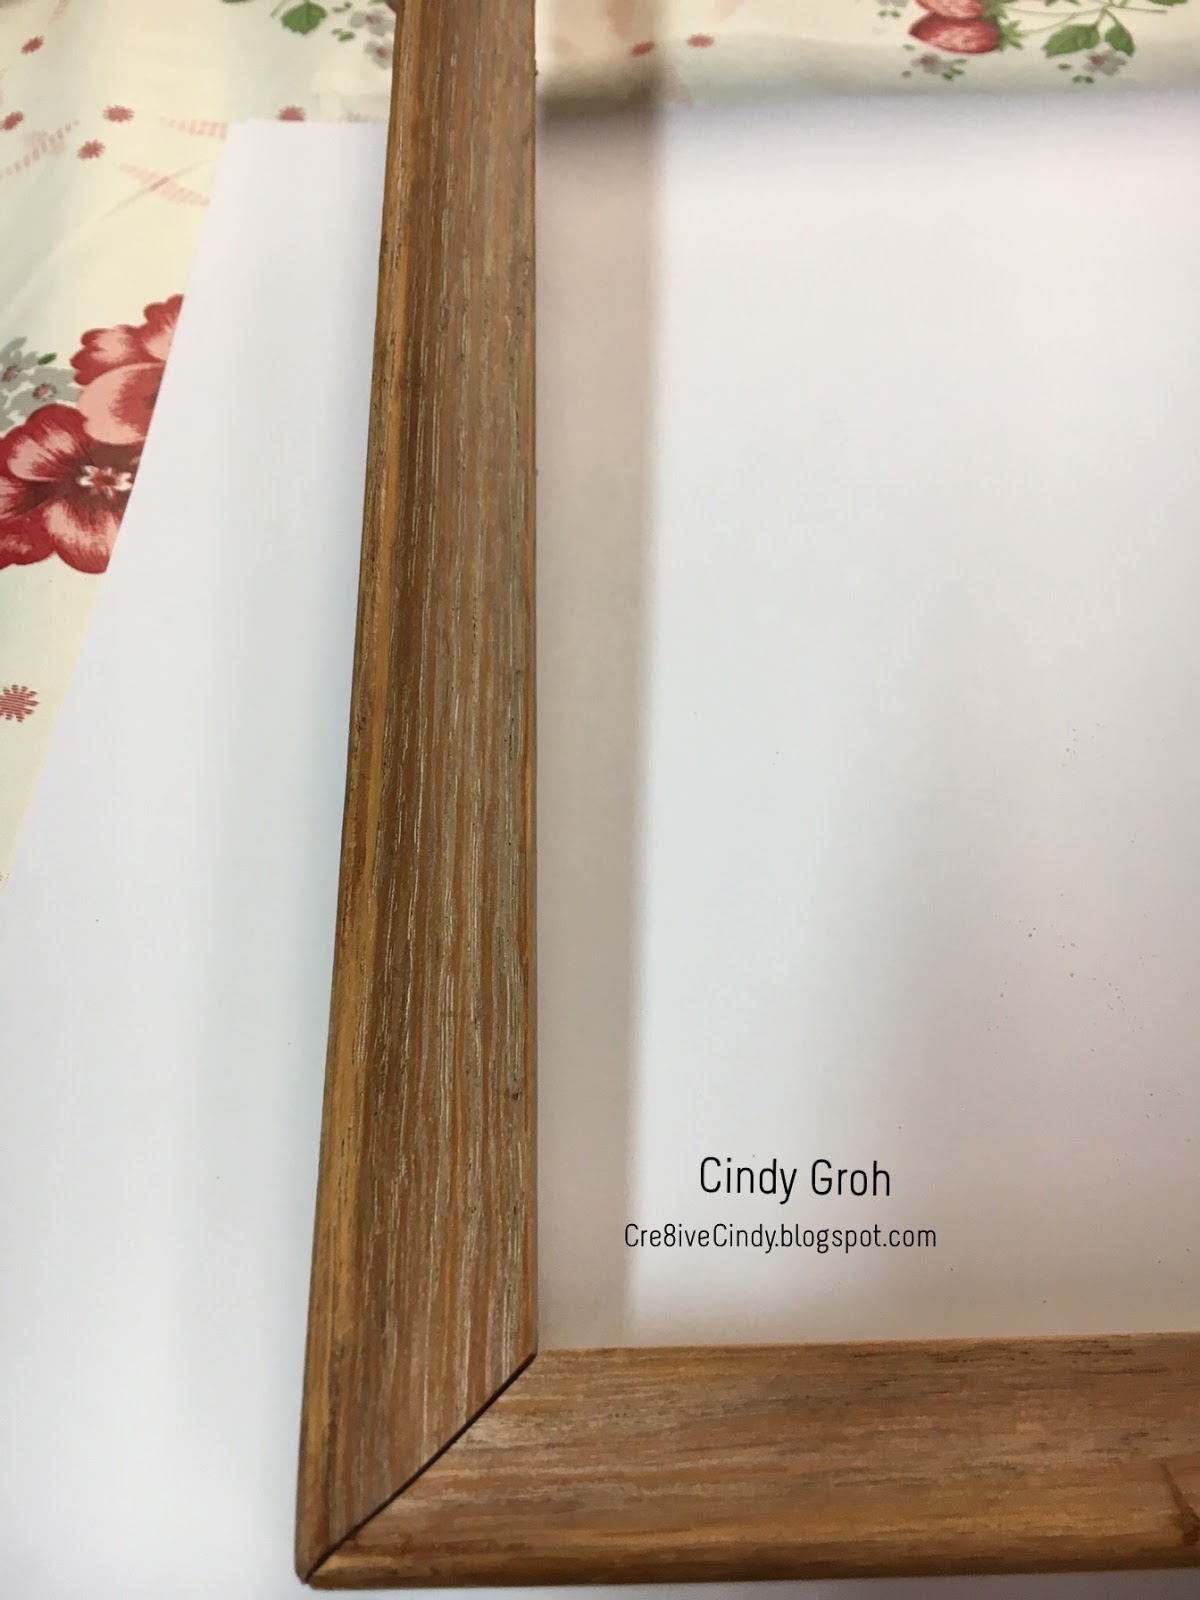
My plan was to create these three frames for my bathroom. I made the two and became frustrated that I couldn’t get the frames to stay on the wall. So, I left the remnants of a third frame on the shelf with the three frames and then I asked my husband for help. He brought me into the bathroom to show me how to hang the frames for the next season. It was at that time that I saw how he used the leftover pieces that were on the shelf to finish the last frame for me. 
He had the back of one egg left which is why the first card in this post does not have an egg back like these ones. I still don’t know where the solid colored egg is.


I like his frame better than mine. Lol.

I’m entering the Bitten By the Bug Easter challenge 


Thanks for looking

Sunday, October 27, 2019

Halloween Frame needs some help

Thanks for coming to see my crea8tion
This frame is made with multiple cards and some embellishments that were given to me in a trade.
The only card I could find to link back to is the skull. If you can find any of these cards, comment with the date the card was posted and I'll send you a goodie bag.
However, not all of the frames are cards. I'm going to try to explain which are cards and which are not.

There are 4 rows of 2 frames.
Bottom two are cards-Find them
Next row up, left is a card to find. right is not.
Next row up, left is a card to find. right has already been found.
Top row, Left is not a card right is a card to find.


Thanks for looking
Here are some other cards used in the frame
Skull Halloween

Monday, October 21, 2019

Mimi's Button Day Sign

In honor of
Count your buttons day
I thought this sign is perfect.

Paul’s mom moved from an assisted living to a memory care based building. The facility likes to have the resident‘s name on their door and so my husband asked me to make something. I didn’t know what I was going to do and so I was playing around with what ended up being her sign.

I painted some cardboard off white with Making Memories paint.
I arranged these buttons to form her name. The buttons are woodsy looking.
I adhered some red yarn around her name. What a pain in the butt that was.
The background paper is by C Gull
I used rub-ons to create the word welcome.

The sign was rough looking the way it was with that cardboard showing and I wanted to give it a feminine touch. So to cover the cardboard on the top and bottom of her name, I adhered some pink ribbon and lace from her old stash on top of it.


I’m a little disappointed with the placement of the lace but i came up with a new slogan, 
It doesn’t have to be perfect, it just has to be done.


Thanks for looking.

Monday, October 14, 2019

Manly Monday Chevy Sign

I haven’t been able to make cards for men but I do have a few things to share for the next few weeks. This was a sign I made for a silent auction. The Chevy dealer generously donated the oil change gift certificates but I needed to jazz them up with a sign.
 I cut the truck with the Cricut and made my own hood to sit up like you’re having your truck worked on. All of the letters are stickers. I hoped the fun camouflage patterned paper in the background would appeal to men and the purple would appeal to the women. I’m not sure who won or how much it went for.
Thanks for looking.


Saturday, October 12, 2019

Lucky Shamrock for my Mom

It is appropriate to post this today Saturday, October 12 for my Mom’s first heavenly birthday. We are burying her ashes today. There are so many emotions and memories that go through my mind.
I feel it necessary to tell you that I wrote this post months ago. I made the top part a short version and at the bottom I give you a more in depth description into the making of this decoration. I also include a memorable moment that I had with my mom. So, Here we go.
I made a decor piece for my mom’s room at the assisted living center for St. Patrick Day. It got many compliments especially  from her. 
I cut out a shamrock stencil and traced it onto cardboard. I used a glue gun to adhere pieces of green fabric inside the drawn template. I altered and then glued the stencil back on top of the cardboard over the fabric pieces. To finish up, I outlined the edges and wrote the word Lucky with Stickles.


Long version:
 It wasn’t supposed to be this way but once my original idea was not coming together I went with what was working. The amount of time it takes me to do such projects is embarrassing. I have to stop over thinking everything and just try it, just do it and just use that favorite stash item you’ve been saving. Quit looking through all your stuff, and take the first thing that you like. Note to self is now finished.

Anyway, I cut the shamrock stencil out of the green-ish cardstock using my Creative Memories heart from the cutting system.  I traced inside the stencil onto a thick cardboard.  Everything inside the Shamrock is fabric pieces. 
After I put a layer of adhesive from my glue gun inside the shamrock area, I would scrunch the fabric into that glue keeping it inside the stencil outline that I had to drawn. I wish I would have used different shades of greens in some areas. 
And so now what do I do with this thing that I pepped myself up to have the ‘Just do it’ mentality and It looks horrible. 

I placed the stencil on top, stood back to take a look and I was so pleased. Wow! The stencil on top of the fabric was just what it needed.
The fit of the stencil wasn’t great because I had gone outside the lines with fabric and glue. I had to cut the stencil to get it to fit but I did so in small increments. I was sweating. This cutting worked well for the shamrock but not in keeping the square shape of the cardboard and although the trimming the shamrock worked in most places there were gaps in other places.
 Enter the Stickles to the rescue! 
Oh Crap! 
 I had to improvise due to the shortage of one color of green Stickles.
 I had a green/red Christmas mix that I used by alternating each color every other couple of inches. I ended up having plenty of the first green but it was lighter so I mixed the two colors together around all of the edges. This type of project might look good with a darker outside line to define the edge but not with this edge’s imperfections. I didn’t want to draw attention to it. 

I wrote the word lucky on a piece of fabric with more green Stickles. This piece was a scrap piece to see how it would look because I was going to write; “We’re lucky to have you” or something like that but I thought that was difficult for a dementia patient. I pulled this prototype out of the trash and glued it on. 

I was running out or low on time because my life revolves around other people that are willing to give me rides and if someone will take me to visit mom, I need to go when they’re ready. 
I still needed a way to hang it up. So when we got there, my brother was kind enough to use the pink Crop o Dile to set some eyelets on each side and tied a ribbon to make it hang. 
She loved it. It was great to see her smile. 
I need to share something that I want to remember:
The last 4 months before she died she would constantly ask me, 
“Who is your mother.” 
I would reply, “You are my mother”.
She would always say in an ugly voice, “I am not your mother”.
Over and over again she asked me the same question. I tried to redirect her and she would ask me, almost drill me,
“Who is your mother?”
I tried, Elizabeth, Liz, Beth, Ms. Bush to which she knew those names were her and with a scowl on her face she would say to me,
“I am not your mother”.
Okay woman, then quit asking me. Lol.

At the end, I didn’t bother calling her mom because she wouldn’t respond to anything other than Liz.

So the thing I always want to remember was about a week before she died I came in and said,
“Hi Liz. My name is Cindy and I’m here to visit with you.”
she said, 
“My daughter’s name is Cindy.”

Yes, yes it is.

Thank you for stopping by.

Sunday, April 28, 2019

Deep Red Stamps ATC Mixed Media Framed decoration for Paul

My husband’s birthday is today and I wanted to share what I made for him...last year. I enjoyed making it because it shows all of the different aspects that make him well, him. I used Deep Red Stamps, distress inks, alphabet journal cards by Colorbox, brads by Eyelet Outlet, Around the Block and The Paper Studio. 
All the Atc's use the Brick Wall background stamp with distress ink. I’ve done this distressed look with the brick stamp on this set of Valentine ATC’s.

This first card represents how he likes to hunt, fish and camp. Here are the Deer Stamp and a few other cards using this stamp, Buck Card and Buck card #2

Paul is a physics teacher and he wears a tie most days. The Quantum Background Stamp is perfect for this card. I used this background stamp on this Graduation card.

He likes to work in his barn on cars and drink beer with his friends. Beer and power tool are buttons. Here are the Chevelle Stamp and some other cards using the stamp Chevelle card and Chevelle Card #2

This card represents the four seasons. It is something that he cherishes about Michigan. (Brads-Orange flower for spring, sun for summer, leaf for fall and snowflake for winter). Here is the Leaves Stamp I used on this card.

With the cards all lined up in a row, I dislike the placement of the P because it doesn't line up with the other letters. Unfortunately, it was the only one left in the set.

I backed the cards with Creative Memories cardstock and some random patterned paper.


The frame for my decoration hung in my mother’s house my whole life. The irony, I never knew the man in the frame whereas I’ve known my husband more than half my life. I dabbed the frame with Colorbox pigment ink and poured Gilded Ivory embossing powder by The Powder Keg over it and heat it with my heat gun. It took a lot of coats of embossing powder to cover it. Sometimes I would let it bubble up from too much heat too see what it would look like.


Here is the finished project in the sunlight.

Thanks for looking.

Thursday, March 15, 2018

Adelynn sign

Sorry for my absence, The last 10 months has been insane. I’m feeling a lot of tensions but I’m trying to learn how to balance them all.

I had made the A and she liked it so much we finished her names.


 It turned out beautifully. So much that we have to do the other t2o girls.
Have a blessed day and be thankful for those around you.

Thank you 😊
Cindy